


Tales from the MRF... Lessons Learned from Platoon Attacks in Mount Bundey, NT, Australia
by Maj Zach Schwartz

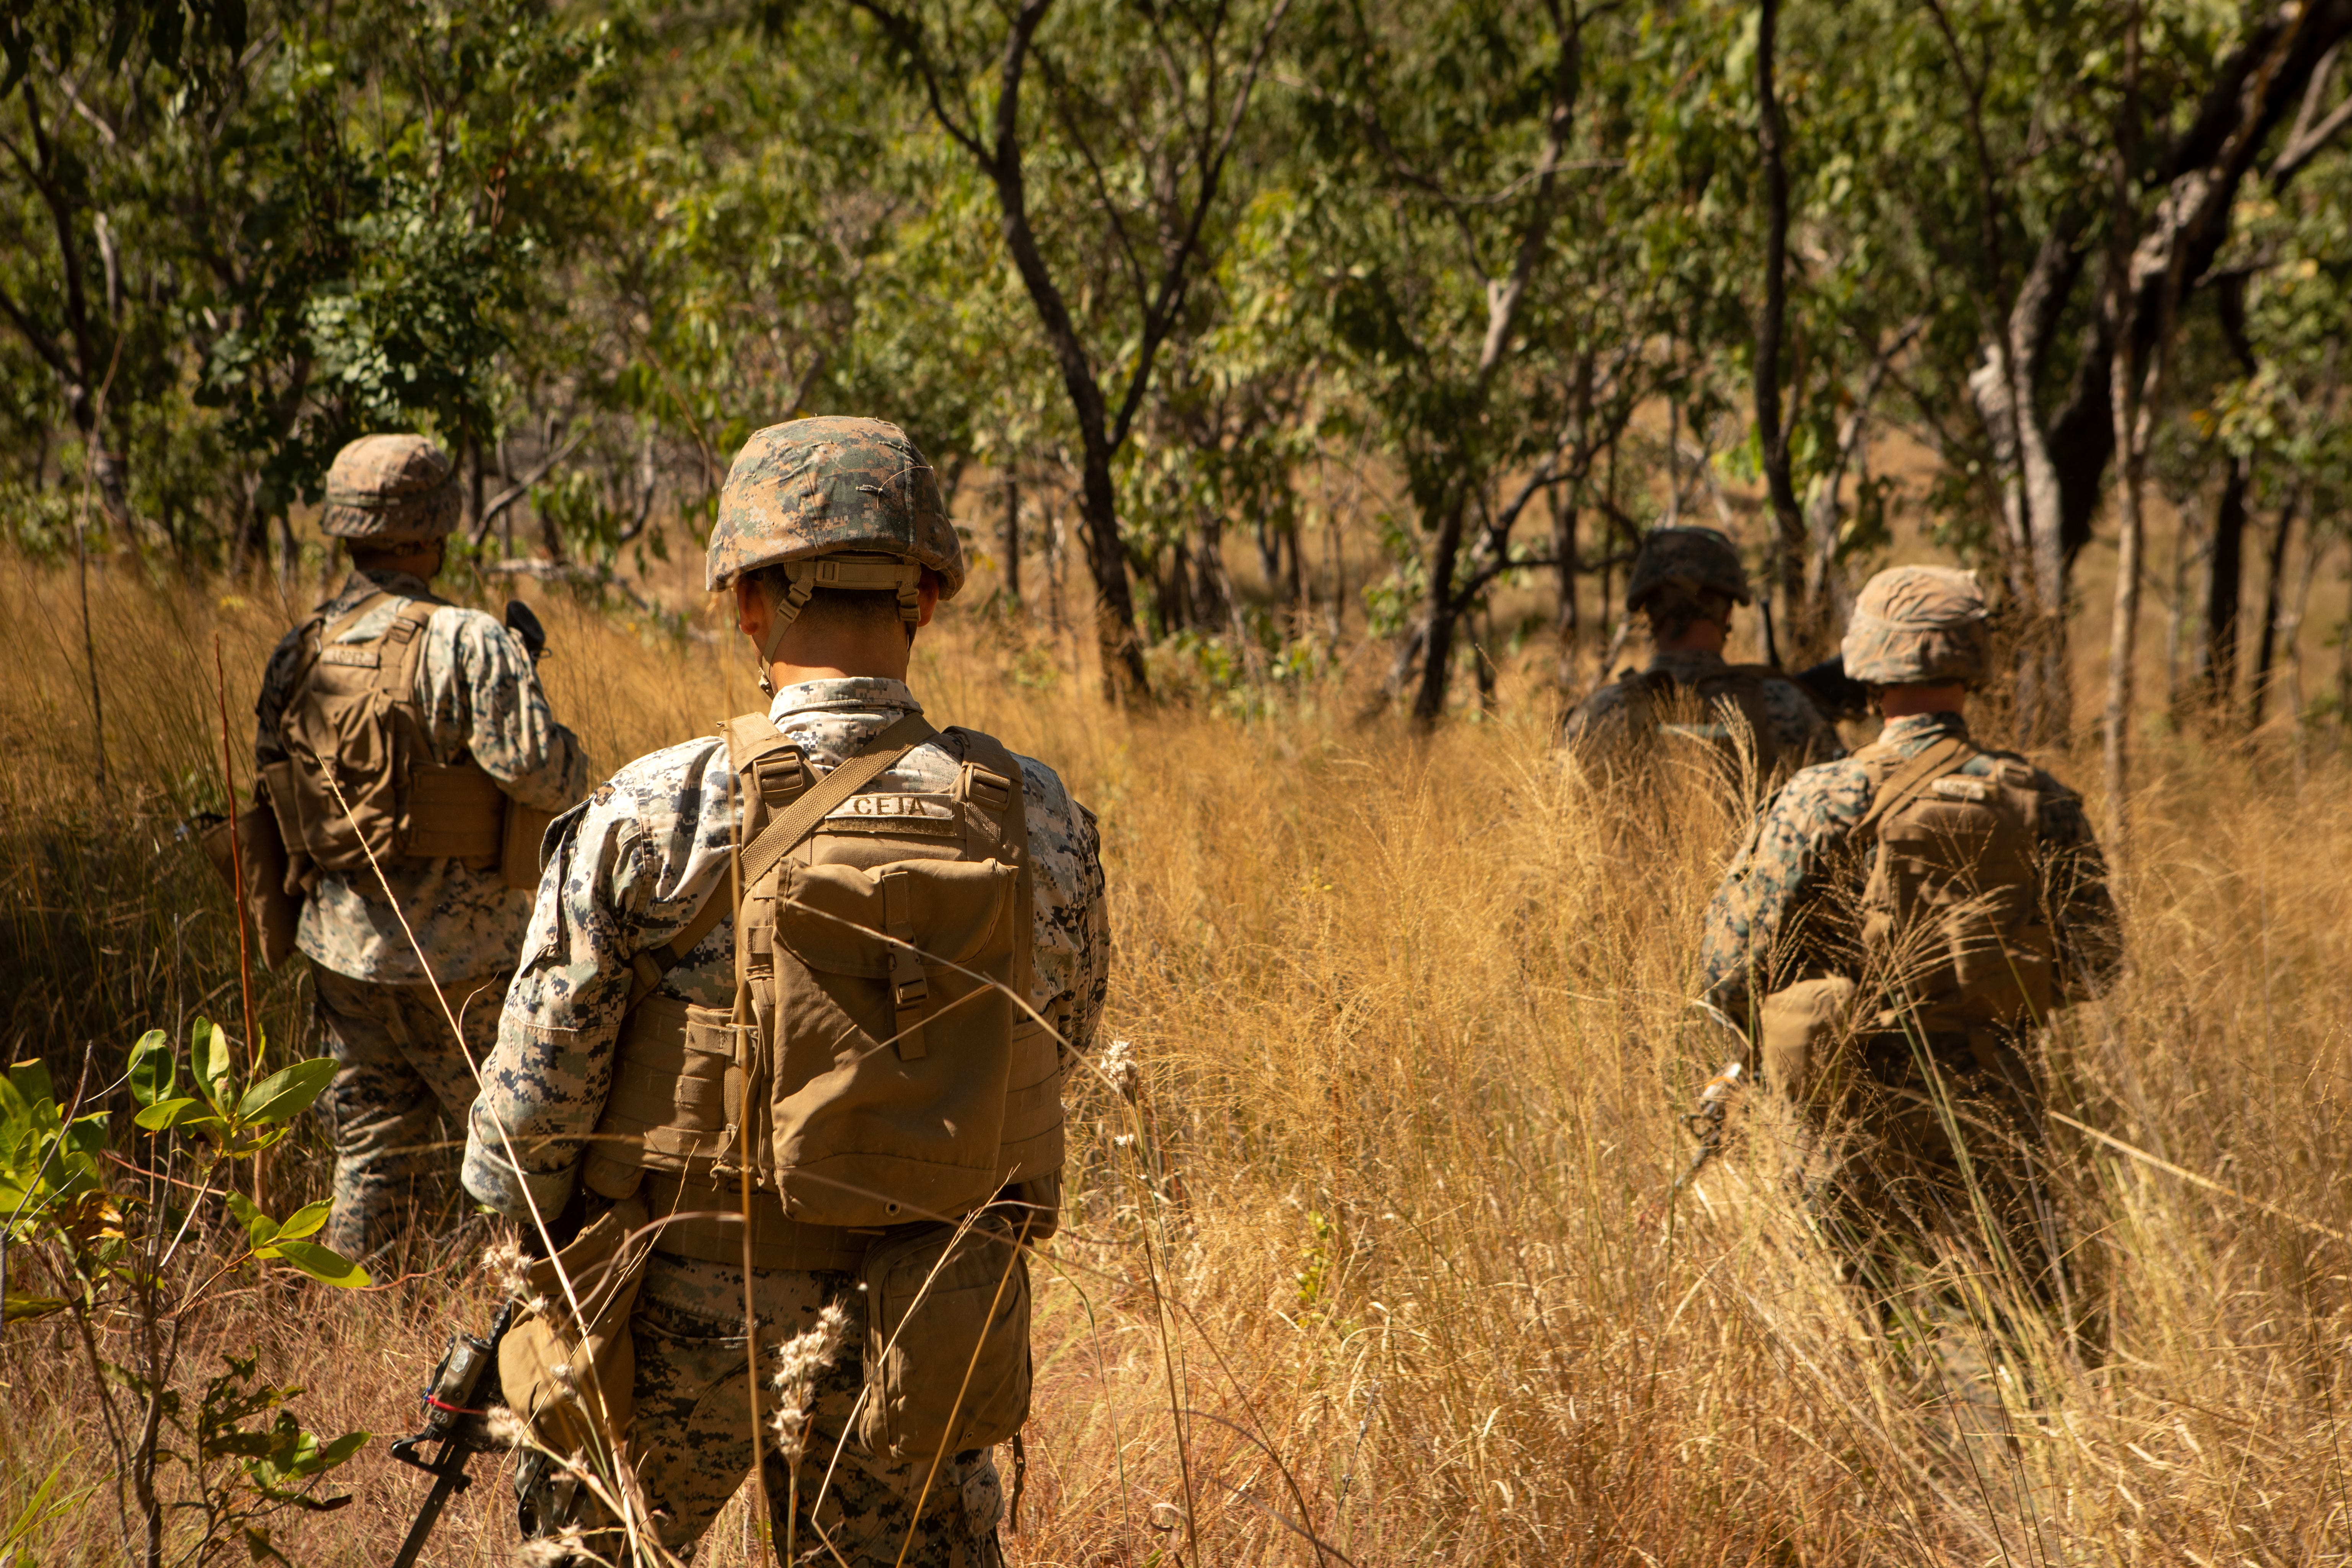
Back in June, 3/7 completed platoon day attacks in Mount Bundey Training Area as part of our deployment as the GCE for MRFD 22.2. After watching each platoon execute their attack, I managed to put together a few observations that readers may find useful as they design, build, and execute first rate training for their Marines.
Scenario Synopsis:
The platoon is tasked to DESTROY an enemy security element IOT enable follow on actions by the rest of the company and battalion. The security element is in semi-prepared defensive positions with hastily dug bunkers and protective wire. It consists of a ZBD-05 with a dismounted infantry squad tasked to GUARD an avenue of approach IOT enable their parent company(-) to reconstitute. Terrain consists of rolling hills covered by savannah-like vegetation ranging from grassy fields to thickets of dense trees.
Platoons had 60s in direct support as well as engineers (team), a MG squad, 2xAt4s, 1xSMAW HEDM round.
The platoons executed non-fire patrol base operations during whitespace time as they prepped for the attack.
Observations/Best Practices:
-Dry Run Red Cell: During each dry run, the S2 ran a live red cell on the objective. This team consisted of several observers and was not an ADFOR. The red cell was tasked to observe from the enemy perspective IOT provide feedback to the EXFOR on what they would likely face from the enemy had the adversary on the objective been real. Team Red Cell took observations from the enemy point of view including: audible compromise, visual compromise, reactions to blue SUAS, reactions to blue SOM. They combined these observations with knowledge of enemy TTPs to provide post-run feedback to the company. Red Cell was equipped with a camera to record blue actions as well as their own red-UAS to be launched by the “enemy” to confirm blue location/call for fire upon blue compromise. The resulting timeline of the “enemy’s” understanding of the situation helped EXFOR comprehend and work to defeat Red’s decision-making cycle for their live run.
-Night Crawlers: Pardon the “Always Sunny” reference. In the “white-space” between runs, the companies executed night scouting and patrolling out of patrol bases. 3/7 used this time to work SUAS training with a bit of friendly competition. Blade SUAS operators met up at the battalion forward COC and executed flight ops to attempt to locate patrols and patrol bases. Company commanders gave vague grids to patrol routes and PBs for the operators to locate. This proved harder than expected and forced companies to work SIGMAN while helping our SUAS drivers gain valuable experience looking for human targets who were seeking to evade them. Positive ID by SUAS cued “Red” patrols by COC Marines to ambush and probe the company positions. Beers back at Robertson Barracks may have been wagered and much learning was shared by all. With how low- impact/high pay-off this “white-space” training is, 3/7 will be working this into future field ops. Hopefully it spurs some creative reps for your battalion as well.
-Leader’s Recon: Platoon commanders had a pretty good idea from their order and intel updates on what they were facing on the objective. Most still executed a leader’s recon to confirm/deny that their plan was still on the rails. The biggest friction point we observed was a lack of simultaneous actions. Several platoon commanders put their Marines in an ORP, executed the recon, left the observation point, returned to the ORP to re-brief, and then stepped. At times, this process could take up to an hour. Within that hour, enemy UAS usually came into play or the platoon was compromised some other way. The most successful runs executed excellent simultaneous actions. Recon would occupy with the intended support by fire/anti-armor rocketeers within eyesight. While this was going on, maneuver continued their approach march to the assault position. Recon confirms enemy location, assault position, SBF hot/cold, and begins CFF to suppress enemy dismounts without ever taking eyes off the objective. From LD, the platoon almost never stops moving except for SBF and leaders recon Marines. Bottom Line: leaders recon needs good priorities and simo actions to be most efficient. Talk to your leaders about this and help them plan accordingly.
-SUAS employment for the attack: Platoon commanders had the option to fly SUAS as part of their leader’s recon. Those who did instantly tipped their hand to the enemy. Enhanced enemy security posture was painted accordingly. Most platoon commanders decided that the SUAS recon was not worth the squeeze and executed ground recon from their intended SBF position. One platoon commander brought up an interesting TTP: when UAS flies over us, we naturally all look up to see it. Does this apply to the enemy? What if we fly UAS offset from our Marines over the enemy’s engagement area right before we sneak in a rocket shot against the ZBD? This deception/distraction plan was an interesting thought and may be worth some more experimentation.
-Close Range Anti-armor tactics: This exercise pitted the platoons against a ZBD and dismounts at a range of about 250m across and through complex, vegetated, terrain. This is a bit of a culture shock for a 29 Palms battalion used to the same old range 400/410A HESCO bunkers across open fields of fire. A lot of our platoons attempted to execute what they have learned since TBS: IDF into DF suppression from Mgs, then commit assault and rockets. With 60s suppressing the objective, several of our platoons would occupy with MGs to suppress for a rocket shot from SBF hill. The only problem is that 60s may rock infantry dismounts, but that ZBD will be very much in the fight. And when MGs open up, it takes about 4 seconds for the turret to slew the 50 degrees needed to start pounding SBF with 30mm cannon fire. So what’s the solution? Our most successful platoons initiated 60s from their leaders recon to suppress dismounts and then quickly snuck their rockets into their concealed hot position. Rockets were protected by a handful of Marines with suppressed IARs, M32s, and M320s (all relatively quiet weapons) with instructions to only fire on enemy dismounts who were preparing to engage the rocketeers. The rocketeers then volley fired their AT4s with the SMAW DM in reserve in case the AT4s failed. ZBD confirmed destroyed? MGs and the rest of SBF are right there and occupy the hot position to commence suppression of the objective for maneuver. If the SMAW rocket is still unexpended, the commander used it to dispatch an enemy MG bunker or fighting position.
And what happens if all the rockets missed? Decision for the platoon commander: does he throw his platoon against an alive and very angry ZBD? Or does he break contact and call for support?
-Steel Armor Target: Mount Bundey had a steel frame BTR target on the objective (two ~1/2 inch steel BTR flank silhouettes held together by headframes) that we painted as our ZBD. This offered a great weaponeering lesson. We had multiple AT4 strikes on this target. The damage from the shaped charge plasma jet was visible, sometimes punching through both steel plates. Each AT4 hit showed obvious penetration. We also had multiple SMAW DM hits. But only one was a confirmed penetration. Several others simply glanced off the steel frame due to the angle of impact being too narrow. The SMAW that penetrated hit at damn near 90 degrees. We then brought members of the EXFOR up to view the damage from each type of munition. The lesson? AT4s are best against armor, the DM rocket is best against the bunker targets on the objective.
-Assault Fires: There was a timidity towards assault fires present in varying degrees across all the platoons. Once they got through the protective wire breach (within 40m of the enemy fighting positions), almost every platoon showed some form of hesitation to assault through the objective. Part of this probably stemmed from the dense vegetation on the objective hill. Part of it was probably lack of comfort with firing rapidly on the move. We need to ensure our Marines understand when it makes sense to go to burst or full auto while firing on the move. One of those times is in the final assault as we close within hand grenade range of an enemy. Breaching enemy protective wire will be one of the most dangerous and chaotic moments in an attack. Hesitation invites disaster. Looking forward at future training, 3/7 needs to devote some specific focus to the close quarters techniques our Marines can expect to employ in similar assaults.
This training event ended up being a blast. Everyone learned a lot, from the riflemen and rocketeers to the platoon sergeants, platoon commanders, company leadership, and battalion staff. Hopefully some of the ideas and trends I observed here help you shape training for your teams. As always: please reach out with any questions, comments, or concerns. I am more than happy to share the products we used in the design of this range, photos, etc. Stay tuned for more updates from the Blade down under including live fire company attacks and battalion force on force at EXERCISE PREDATOR’S RUN. NO SHIT.
Maj Zach Schwartz is the OpsO at 3/7. He can be reached at zschwartz2012@gmail.com